First of all, the Arduino is the brain of the entire project. It processes the signals given by the piezos reading each drum hit, and sends it to the computer as a MIDI signal. This signal is then converted using a MIDI to Serial converter so that the Mac can read it properly and assign the drum sounds of GarageBand to it. We used a second Arduino to control one of the modes of the lights, being Tutorial mode. When we switch the drum set to Tutorial mode, the first Arduino controls the second Arduino, and tells it to start running the program that we had previously gave it, to light the lights in a certain sequence, teaching you how to play.
Our initial assembly worked quite well, but we hit a few bumps and setbacks. it took a long time to get all of the films wrapped around each of the light strips, equating to about 3 hours, and when we got them all wired up, the green light strip decided to no longer work! so we had to redo that strip with the remainder of lights we had. also, only 3/4 of the red pad lit up when given power, as one of the connections got messed up during the contact cementing of the films onto the lights. so Jake did a fix on that where wires went from a good part of the red strip to the other portion, fixing it and allowing the whole red strip to light up once again. there was quite a few other setbacks when it came to soldering, but all seemed to work out in the end.
A quick thing on the fabricated parts. We received our 3D printed drum stick holders and they worked magnificently. we screwed them into the back of the left pvc pipe and there was plenty of space to get the sticks in and out and they were adequately held by the holders. We even gave them a gloss gold coat of paint to tie them into the rest of the paint job of our drum set. Our project did not require the use of any laser cut parts, as we used one of the UMass Lowell machinists to lathe us a perfect 7 inch circle out of the stainless steel sheets we had for the metal pads. in hindsight, we probably shouldve tried to laser cut these instead, but they came out quite well. However, as a last minute addition, we had a nifty project display name card laser cut out of cardboard for the final presentation (shown below in the first picture). PVC was used to connect all of the pieces of the drum set to each other, with PVC fittings to conjoin the pipes. The pads were made from plywood. Anything else that needed to be attached was either done with 1/4-20 holes and screws with lock nuts, or with contact cement we got from Eric's dad and Home Depot.
The success of our project was incredible. All of the lights worked, all of the pads worked and sent the signal correctly, and the lights reacted to the strikes perfectly. We got a ton of support and feedback from friends, family, colleagues, strangers, and faculty about how we did, what a success we had, and what we could do to improve it as well as possibly take our project to the next level. which we are still thinking about (can't give too much away).
Unfortunately, we did not include a stepper motor or a moving part to this design, which seemed to be required. But for what we accomplished within only a month's time, I believe we shouldn't be penalized for it considering that a motor has nothing to do with a drum set!
All in all, this project was a huge success, we all had a lot of fun building it, and we all have gained a tremendous amount of experience. From the mechanical part of the project of assembling it all, to the electrical and coding parts of making the pads and lights work, we all have gained a lot, and cant wait to see what comes next. Thanks to everyone who has helped us along the way, take it easy, and rock on!
-LightBeats (Drum Set Kr3w)
Technical Information
We were unsure of the best way to upload all of the files of the project, so copy and paste the URL below for ALL of the SolidWorks components used
https://drive.google.com/folderview?id=0B1l6KV0rfAJgN0JheFZ3VkROaVU&usp=sharing
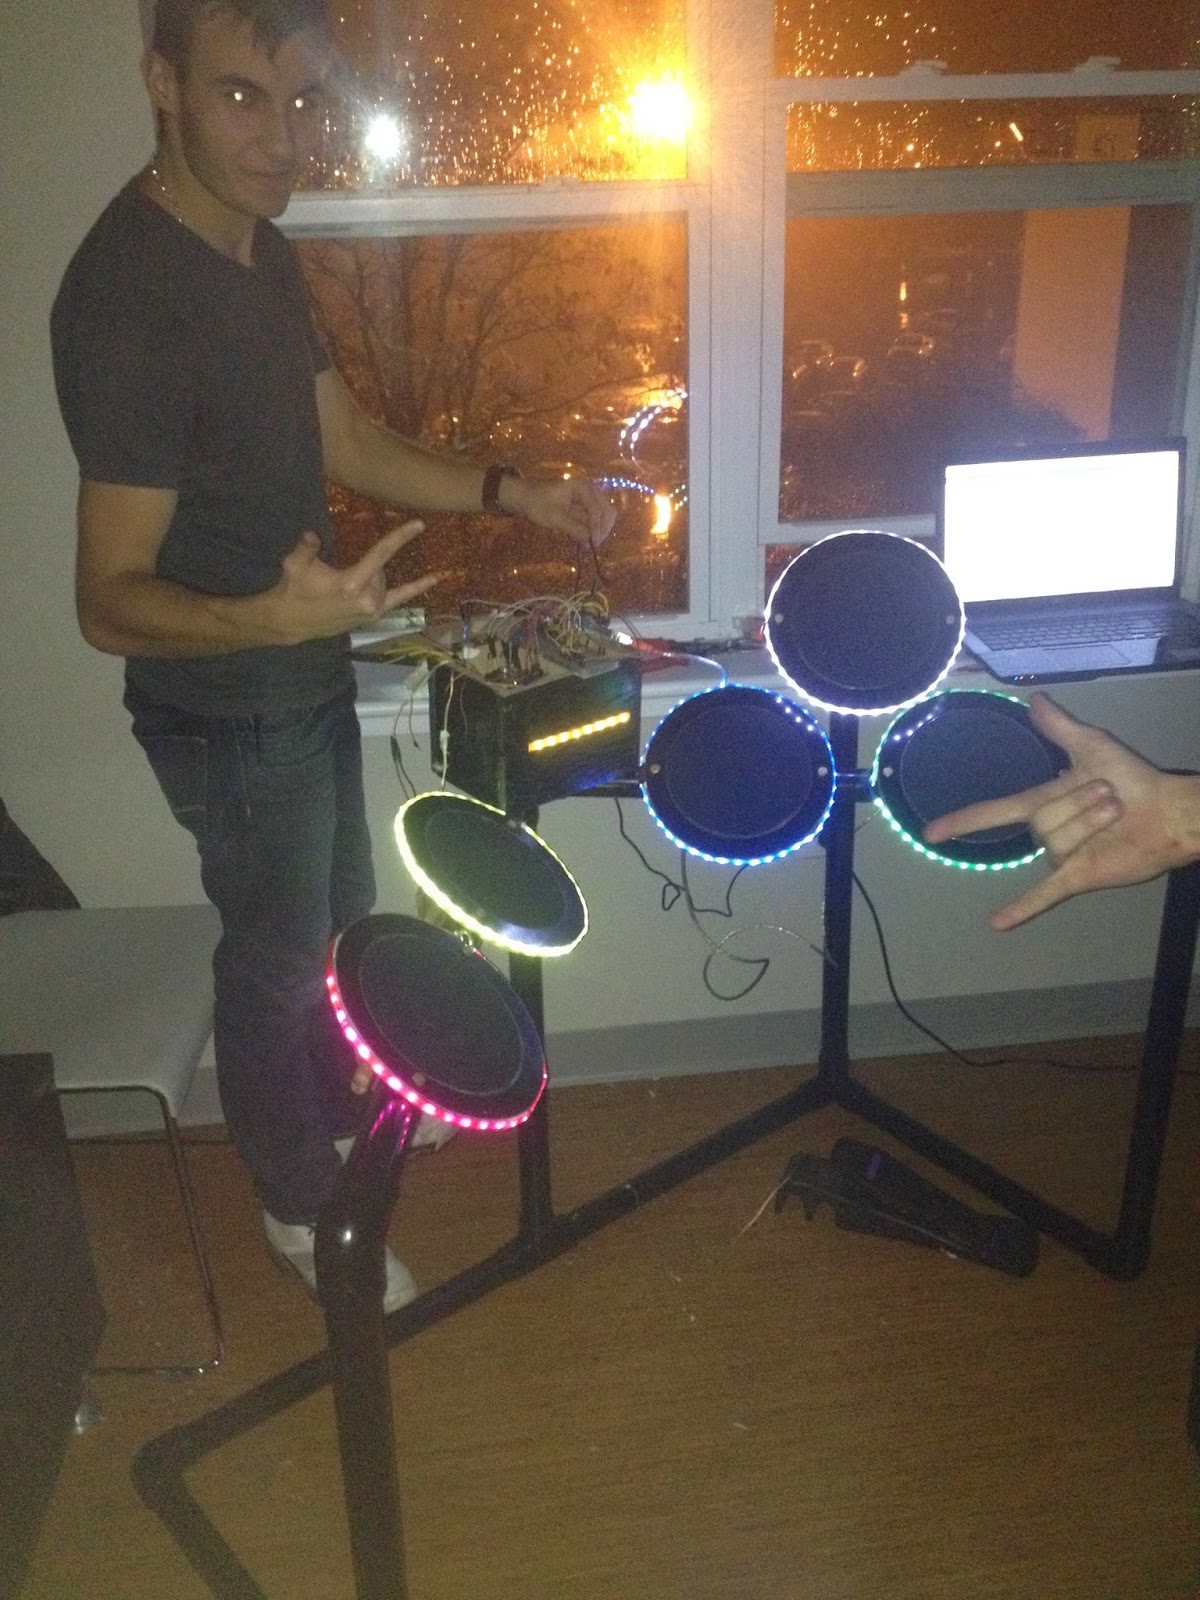
And some final wrap up pictures for your viewing pleasure...